Thursday, September 27, 2012

Lesson 4 Three Lights

Three Light Inspiration
Three Light Breakdown

Production Stills by Brittany Carmichael


Wednesday, September 26, 2012

Assignment 4 Three Lights


Assignment 4 Three Lights
Using classic Rembrandt lights (45 to side 45 up) create a portrait with key (150 watt bulb), fill (75 watt bulb) and backlight (special spotlight bulb or 75 watt bulb).. Check blog under Lesson 4 to see how it should be laid out.

Using three lights invent your own formula.
Post one separate finished photograph for this one

Thursday, September 20, 2012

Lesson 3 Refraction, Diffusion, Direction and One Light

Diffusion

Read all about it on the Roscoe site


The five things that happen when light falls on a form


The direction of the light makes a difference


The Ball Cube and Cylinder


One Light Portraits


Production Stills by Marina Planas
 

Wednesday, September 19, 2012

Assignment 3 One Light


Using the 250 watt halogen bulb in the equipment closet, make a portrait by selecting a quality and direction of light to communicate an emotion that you feel about a person.  Make an additional portrait that reflects the opposite feeling you have about the person.  Explain in writing the laws of light that were at work in each portrait.

Thursday, September 13, 2012

Assignment 2: Light Travels in a Straight Line, the Angle of Incident Equals the Reflection and the Inverse Square Law

In one photograph using one light source clearly demonstrate the 3 laws of light at work. Include the light source in the photograph. The subject is the light. Think of it as more of a physics project than a photograph. Use a dodging tool (I didn't explain this in class but think of a darkroom dodging tool as a gobo or flag) to prevent the light from flaring the lens.  Try to crop out any ridging you might use and make the image about the light.

Lesson 2 Angle of Reflection and Straight Line


Using pool as an example of angle of incidence = angle of reflection.


An illustration of how a rough or matt surface effects the angle of reflection.


Examples of different surfaces reflecting a beam of light.


How a parabolic reflector works.


Light travels in a straight line we used a camera obscura to illustrate the law.


The larger the whole the less sharp the image is.


Our experiment with differant size light soures and a 6" hole.


Production Stills by Amy Davis


Friday, September 7, 2012

Lesson 1 Inverse Square Law

The inverse square law states that the intensity of the light from a point source diminishes inversely to the square of the distance.  I=1/d²  Here is a better illustration that what I drew on the white board.


I got this next chart from Lee Varis's website.  He illustrates here the relationship of 18% grey to a modified 10 step zone system, 50% that you would see in Lightroom's histogram and the number 118 you see in Photoshop's histogram using RGB color space.  


Here is the results of our test in class with the middle grey card adjusted in Lightroom and tweaked in photoshop to look the same.  You can see the Front card gets darker in relation to the Middle card as the light is moved further away and the Back card gets lighter as the light is moved further away.


Here is a chart of mathematical calculations we made alone with the meter reading that actually was more accurate.  I have had this experiment work in the past but not on our day.  The PM's class was behaving similarly to ours.  I don't have an explanation as of yet.


Production stills by Amy Davis


Tuesday, September 4, 2012

Assignment 1 The Inverse Square Law

Part 1
Using 3 identical 4x5 grey cards set 1 foot apart and overlapping 1" make 4 photographs of the cards with the light 2 feet, 4 feet, 8 feet and 16 feet from the middle card. Use an incident meter on the middle card to give the correct exposure. The middle card should have the same value on each photograph.

Part 2
Use 3 4x5 cards a black card in front, a grey card in the middle and a white card in the back. Using a single point source make all 3 cards appear to be the same value.

Also by next week: Make a Blog
•Make an account with google.com
•Go to Blogger.com and sign in
 •Create an blog with your id photo.
•Email your name and your blogs url to ccs@nyc.rr.com and I will setup a link to the class blog
•Post your work each week with 8 meg files

Class Syllabus


Who should take this class: 
Anyone interested in learning lighting.  No prior knowledge of lighting is required.
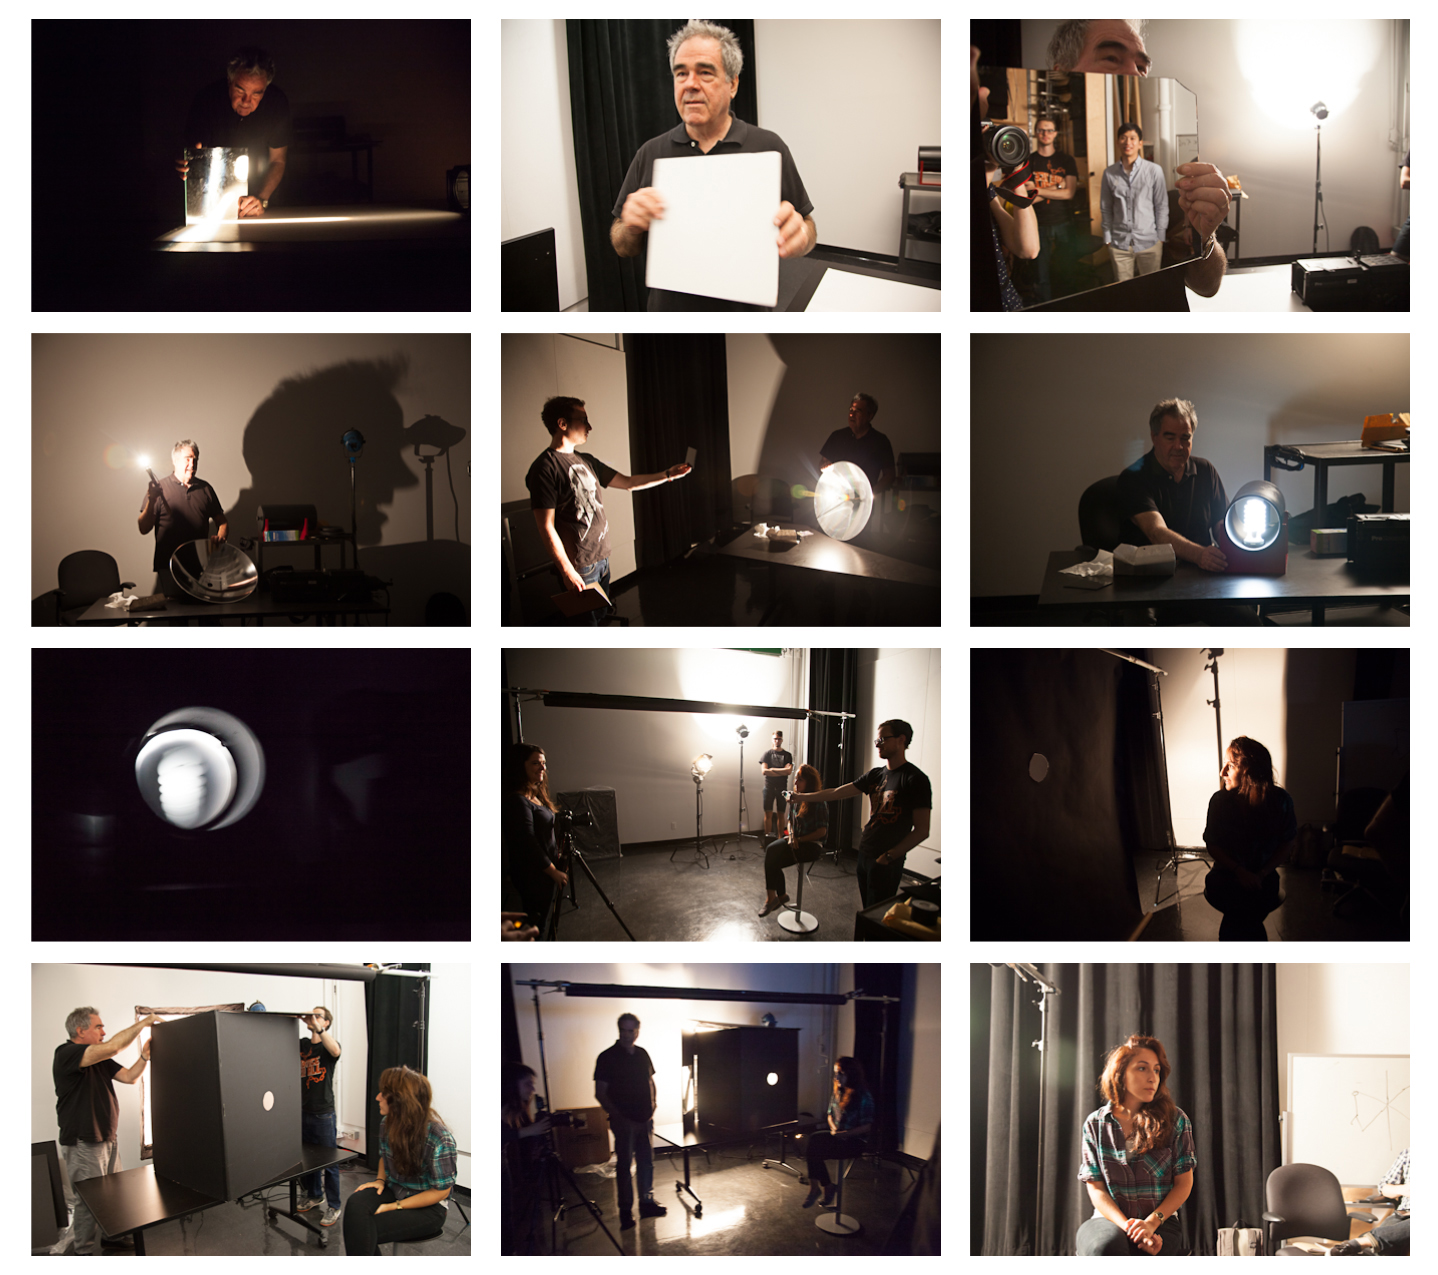
Class Description:

This course is an opportunity to learn the laws of light and to gain an appreciation of how important an understanding of light is to a photographer’s process. The class will begin with an exploration of the physics of light in order to explain its behavior. The weekly sessions and assignments will teach the student how to approach every lighting experience with confidence.  The purpose is to master these concepts and to ensure effective application of this knowledge. The ability to problem solve is a crucial element when faced with challenging lighting situations and without this understanding it is very difficult to move beyond obvious limitations. The ultimate goal is to be able to apply these concepts and then to see all the possibilities.

Assignments:

Each week there will be a demonstration and a class exercise that will end with a weekly assignment. There will be a total of thirteen weekly assignments and one final project.

Each student will post their weekly assignments on their lighting blog along with a sketch and brief explanation of their results. 

Grading:

A commitment from the students is expected. Being on time, prepared with homework and ready to learn are requirements.  The student’s aesthetic approach to lighting will also be a factor in grading.

 Schedule:
Lesson  1:   Inverse Square Law
Lesson  2:   Angle of Incident, Light Travels in a Straight Line
Lesson  3:   One Light Source
Lesson  4:   Three Light Source
Lesson  5:   One Strobe
Lesson  6:   Size Matters
Lesson  7:   Strobe and Continuous Light
Lesson  8:   Hand Flash
Lesson  9:   Outdoor Flash
Lesson 10:  Light Painting
Lesson 11:  Shiny Metal and Glass
Lesson 12:  Night Photography
Lesson 13:  Stop Action
Lesson 14:  Bring in a lighting problem to solve
Lesson 15:  Review final assignment